


Accurate damage assessment is crucial before interior trim repair collision work. Remove and inspect parts like doors, dashboards, and consoles. Look for cracks, holes, and discoloration to determine repair needs. Meticulous post-removal repair includes assessing soundness, using automotive adhesives, and paintless dent repair techniques. Reinstallation requires logical sequence, precise alignment, and suitable tools for a seamless finish that matches original aesthetics.
Preparing your vehicle for interior trim repair after a collision is key to ensuring a seamless restoration. Begin by meticulously assessing the damage, taking note of impacted panels and components. Gather all necessary tools, from precision screwdrivers to specialized adhesive, to effectively address the issues. Next, carefully remove and inspect the affected parts, understanding their function and proper installation methods. With the right tools and knowledge, you’re ready to embark on repairing and reinstalling trim components, revitalizing your vehicle’s interior and enhancing its post-collision appeal.
- Assess Damage and Gather Necessary Tools
- Remove and Inspect Affected Interior Parts
- Repair and Reinstall Trim Components Properly
Assess Damage and Gather Necessary Tools
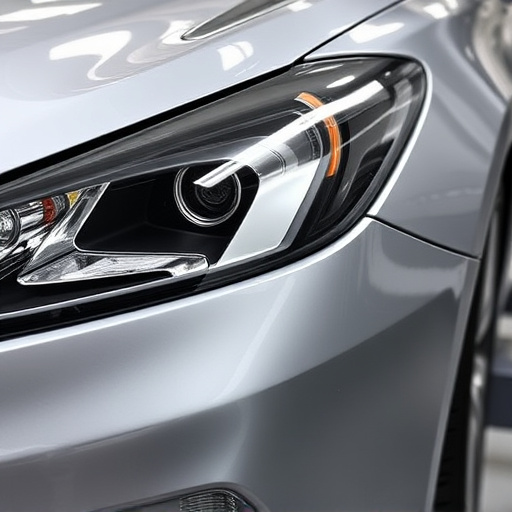
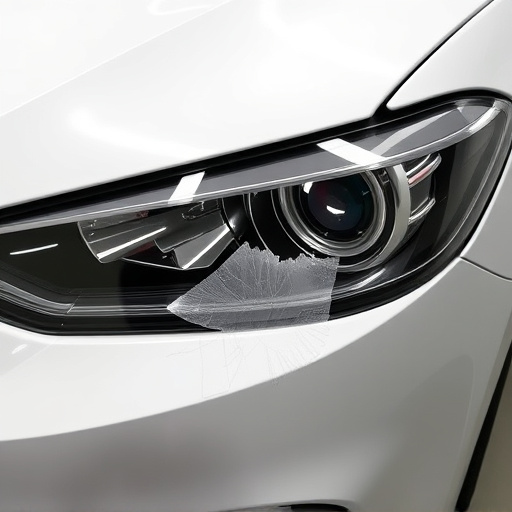
Before diving into any interior trim repair collision, it’s crucial to assess the damage accurately. Start by inspecting every nook and cranny of your vehicle’s interior, noting loose or missing components. Check for dents, scratches, or tears in the fabric and plastic trim panels. This step is critical as it determines the extent of the work required, ensuring you have a clear plan for restoration.
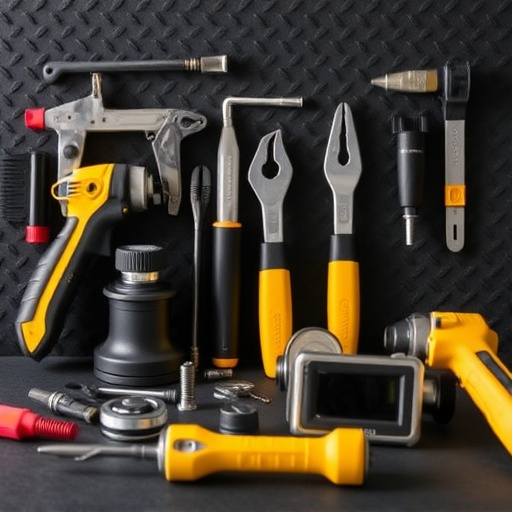
Gathering the right tools is essential for successful interior trim repair collision. Depending on the severity of damage, you might need anything from simple hand tools like tweezers and scissors to specialized equipment such as heat guns or adhesive removers. Additionally, consider having automotive repair services kits that include glues, fillers, and fabric dye to match your vehicle’s original color. Having these in advance ensures a smoother and faster repair process when addressing any vehicle dent repair or autobody repairs.
Remove and Inspect Affected Interior Parts
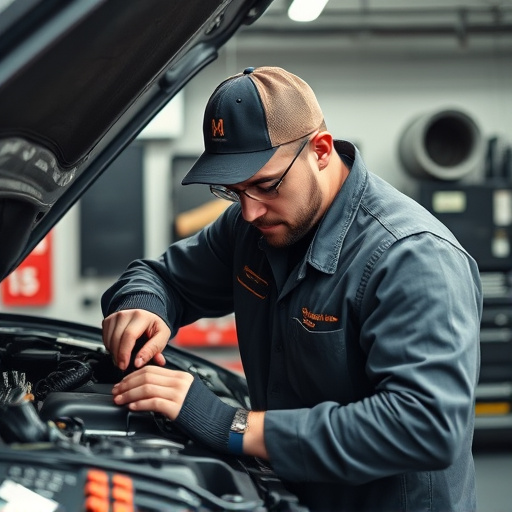
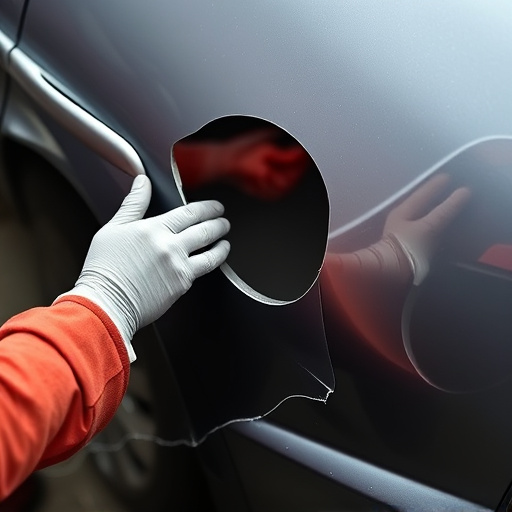
Before initiating any interior trim repair collision work, it’s crucial to remove and inspect the affected parts thoroughly. This process involves carefully taking apart the damaged or torn sections, such as doors, dashboards, or center consoles. With safety gloves on, start by detaching electrical components and hardware that might be attached to the trim. Once these are safely removed, you can begin disassembling the interior parts.
During inspection, look for any signs of severe damage, including cracks, holes, or missing pieces. Also, take note of the extent of the discoloration, as this will guide your decision on whether a simple cleaning or a complete auto painting job is needed. This step is essential in preparing your vehicle for successful interior trim repair collision, ensuring that only the necessary replacement parts are ordered and that your car is restored to its pre-accident condition with quality car paint services.
Repair and Reinstall Trim Components Properly
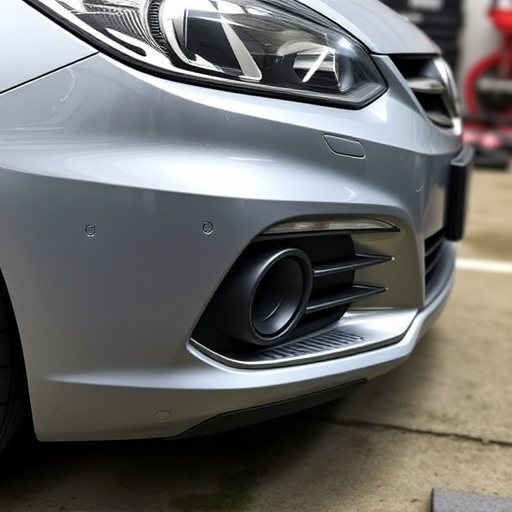
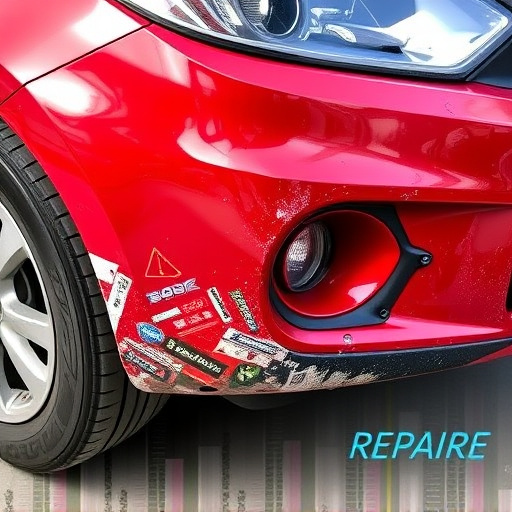
After removing damaged or loose interior trim components, it’s crucial to address their repair and reinstallation properly in an interior trim repair collision scenario. This involves assessing each piece for integrity and functionality before beginning any fix. For broken or cracked parts, utilize suitable adhesives and reinforcement materials recommended for automotive applications. In the case of dented panels, consider paintless dent repair techniques to preserve the original finish, which can be more cost-effective than traditional painting methods.
Reinstallation should follow a logical sequence, ensuring each component aligns perfectly with its designated location. Use proper tools and hardware to secure the trim pieces without over-tightening, as this could lead to further damage or misalignment. A meticulous approach here is key to achieving a seamless finish that matches the vehicle’s original aesthetics, enhancing the overall car body repair process and ensuring no visible signs of the collision remain.
After carefully removing and inspecting damaged interior parts, repairing, and reinstalling trim components, your vehicle will be on its way to a successful interior trim repair collision. Remember to assess all damage thoroughly, gather the right tools, and follow proper installation techniques for optimal results. With these steps completed, both you and your vehicle can move forward with confidence.